
Manufacturing Workflow
Discover LSR Production Process
From Silicone to Finished Cup
From Raw Materials to Finished Product • OEM/ODM Manufacturing
13+ Years Experience • ISO13485 & FDA Certified
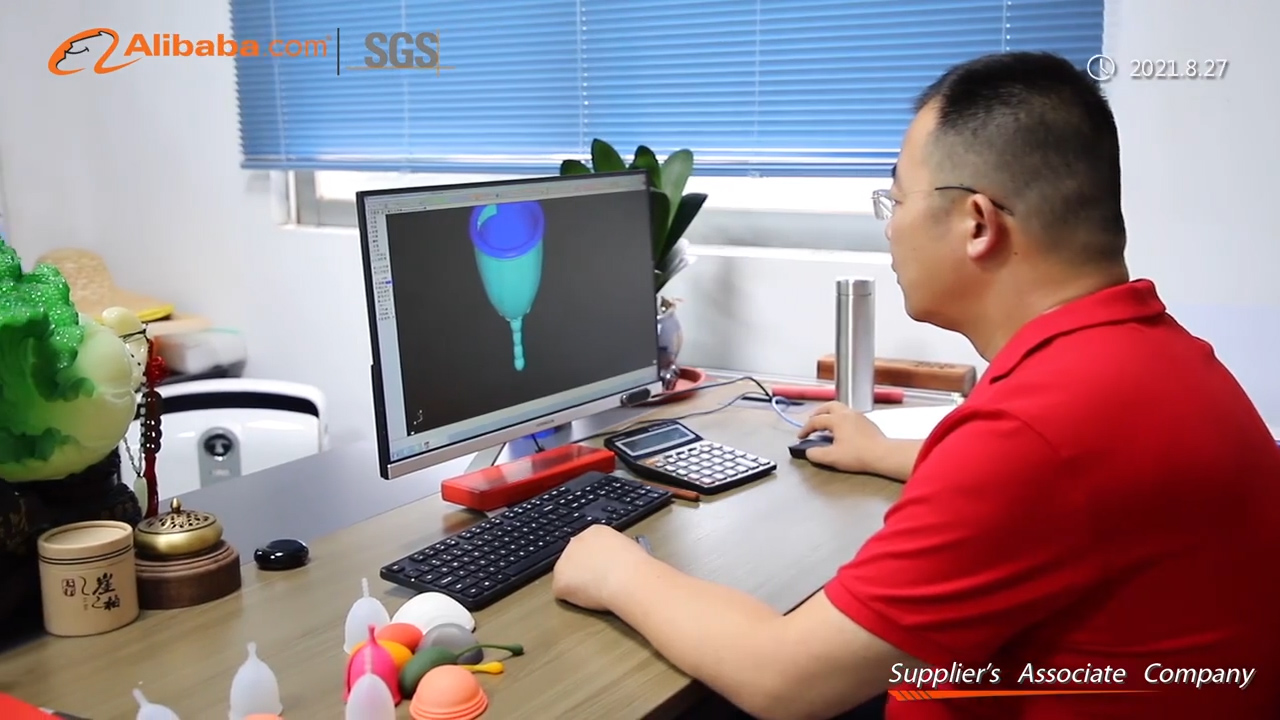
Process Heritage
Factory Introduction & History
Every OEM batch follows a documented 11-stage LSR workflow — incoming material release through export dispatch — with defined QC hold points and lot traceability under ISO 13485. Facility walkthrough: factory tour.
- • Single-site vertical flow — no outsourced molding
- • Separate routings for cups, discs, and kit assemblies
- • QC hold points before batch release
- • Color changeover protocols preventing cross-contamination
- • OEM process sheets archived per client and SKU
Step-by-Step Flow
Production Line Showcase
Production traveler
Each OEM batch carries batch ID, mold numbers, silicone lot, and QC sign-off boxes through eleven controlled LSR stages.
Cup vs disc routing
Standard cup flow; disc orders add bowl-molding and notch-validation at stages 4 and 7 — see cup & disc capabilities.
QC hold points
In-process CMM sampling, functional bench tests, and final AQL gate release per quality control SOPs.
Cycle time
3–5 working days material-to-packaged batch at MOQ; disc variants or heavy customization may extend tooling and kitting stages.
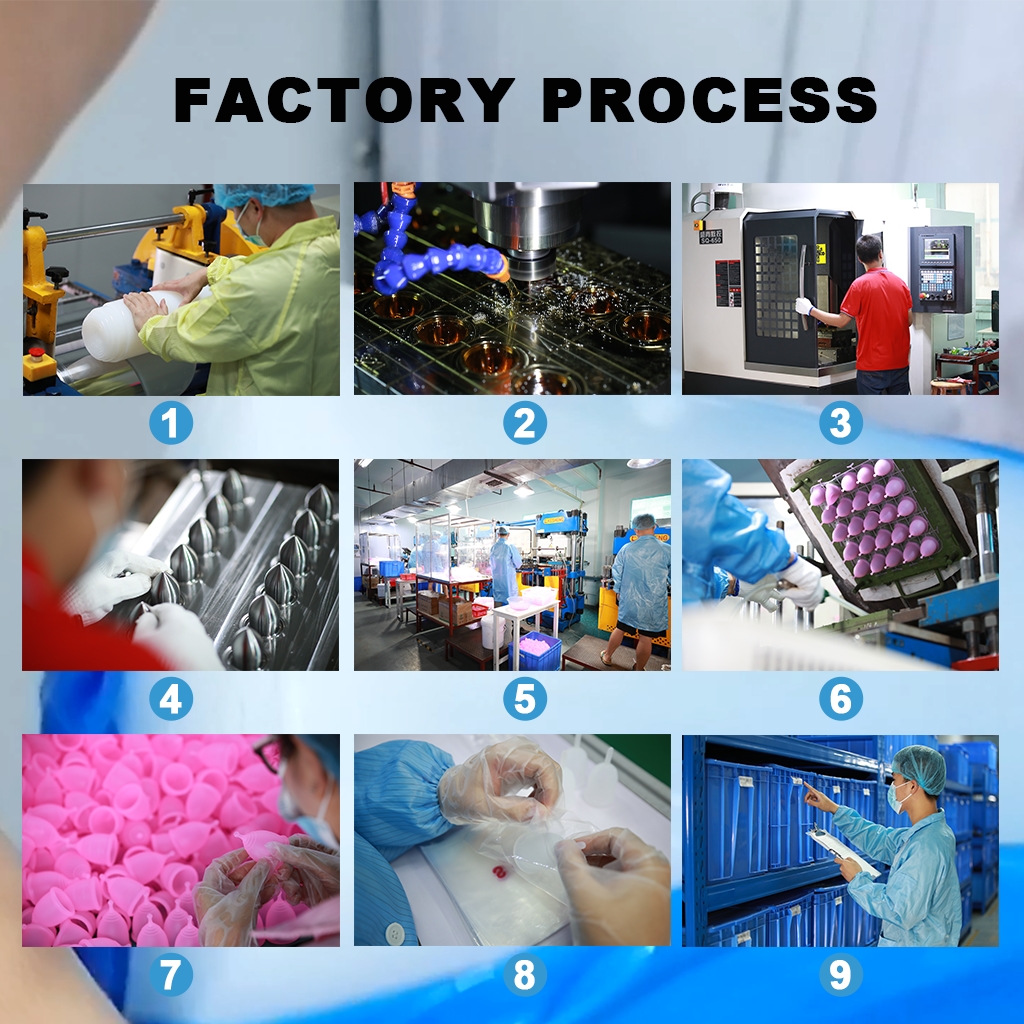
11-Stage LSR Production Flow
From incoming silicone release to export dispatch
Stage 1 — Incoming Material Release
LSR drums quarantined on arrival; QC verifies supplier COA, viscosity, and catalyst ratio before dosing release.
Stage 2 — Mold Preparation & Press Setup
Tooling inspected and mounted; injection pressure, cure temperature, and cycle time loaded from approved recipe sheet.
Stage 3 — LSR Injection & Cure
Closed-loop pumping delivers mixed silicone; cavity pressure and temperature curves logged to MES per shot.
Stage 4 — Demolding & Cooling
Robot or manual demold onto cooling racks; flash inspection rejects rim tears and incomplete fills.
Stage 5 — Trimming & Surface Finishing
Gate vestige removal, stem flash trimming, disc notch deburring; vacuum capture and interim batch stamps.
Stage 6 — In-Process QC & CMM Sampling
AQL samples measured for rim diameter, wall thickness, and capacity; out-of-trend triggers press hold.
Stage 7 — Functional Testing
Disc leak benches and cup stem tensile pulls; Shore hardness verified each production shift.
Stage 8 — Cleaning & Pre-Pack Preparation
Approved parts cleaned per SOP, transferred in sealed totes labeled with batch ID and quantity.
Stage 9 — Kitting & Private Label Assembly
Cups or discs paired with pouches, IFU cards, and retail cartons; barcode scans confirm SKU match.
Stage 10 — Final Inspection & Batch Release
Outgoing AQL on packaged units; released batches receive certificate of conformance.
Stage 11 — Export Staging & Dispatch
Master cartons palletized and photographed; traceability closes from silicone lot to tracking number.
Process Enablers
Key Equipment & Technology
Material dosing (Stages 1–2)
Drum pumps and static mixers deliver two-part LSR at ±1% ratio; pigment stations meter color without opening silicone to ambient air.
Injection presses (Stages 2–4)
50–160 ton LSR presses with valve-gated hot runners; cavity pressure and cure integral feed SPC charts.
Finishing & test rigs (Stages 5–7)
Pneumatic trim fixtures, CMM rim probes, disc leak benches, and stem tensile fixtures with batch logging.
Packaging & MES (Stages 9–11)
GS1 barcode labels, vision kitting checks, weigh scales, and MES terminals capturing scrap and downtime per zone.
IQ/OQ/PQ qualification
New presses and test fixtures validated before customer orders; audit reports available during vendor reviews.

Hygiene in Process
Cleanroom Environment Display
Embedded cleanroom stages
Stages 3–5 (injection, demold, trim) and Stage 8 pre-pack wipe-down run under positive-pressure protocol — detail: clean room.
Batch documentation
Particle-count logs, gowning sign-offs, tooling wipe-down checklists, and tote seal verification recorded per traveler.
Zone segregation
Material prep and mold setup outside primary zone; packaging mezzanine with equal SKU segregation discipline.
Stop-and-hold logic
Environmental excursions halt presses, quarantine affected parts, and trigger QC root-cause before release resumes.

Documented Output
OEM Capability Evidence
Per-batch records
Completed traveler, silicone/pigment lot traceability, MES press export, CMM and functional test results, scrap disposition.
Onboarding documents
FAI report, locked process recipe per SKU, certificate of conformance, packing list archive, and CAPA history.
Scalable traveler
Same SOP structure supports 300-piece trials and 30,000-piece repeat orders; ECOs version-controlled with fresh FAI when required.
Audit readiness
Seven-year digital retention; sample dossiers available for ISO 13485 and FDA-registered facility due diligence.
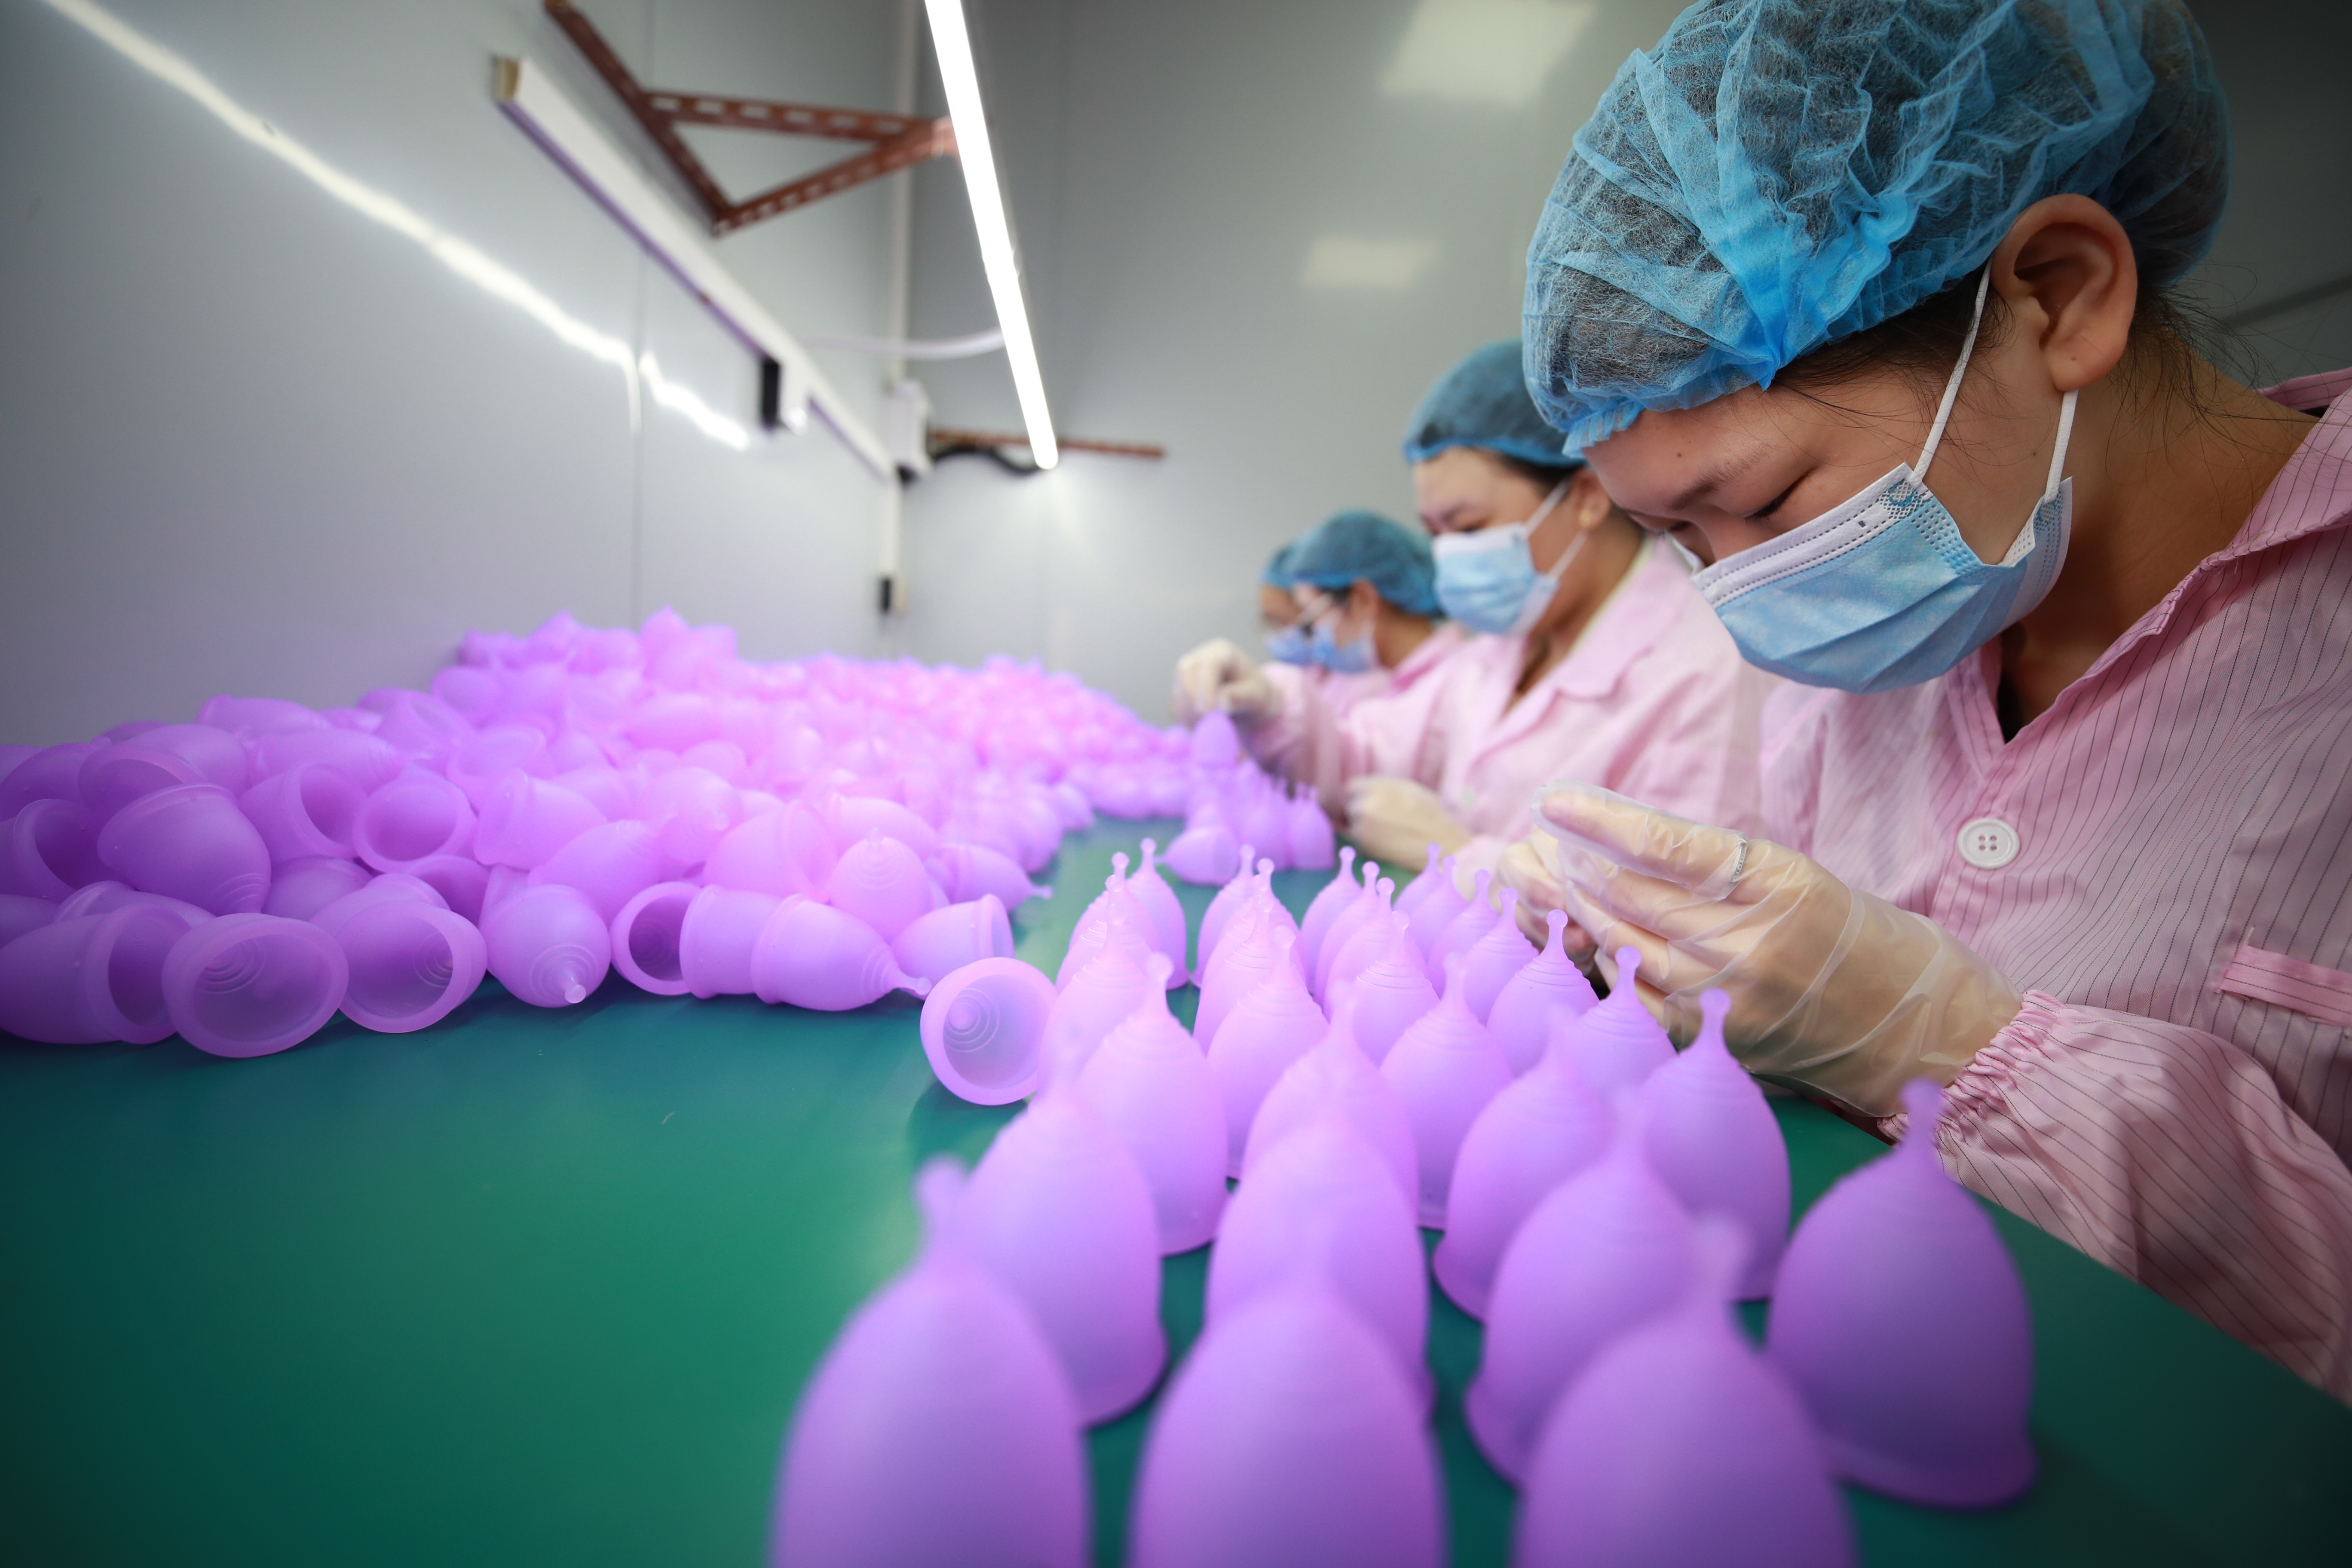
Menstrual Cup Production Process FAQ
What are the main stages of menstrual cup LSR production?
Eleven controlled stages from incoming silicone release through injection, demolding, trimming, QC, kitting, and export dispatch — detailed in the step list on this page.
How long does mass production take after mold approval?
Typical 30–45 days ex-works for approved production tooling. Samples via prototype molds: 15–25 days. See capacity & lead times.
Do you manufacture menstrual discs on the same lines?
Dedicated disc molding with separate cavity geometry and QC protocols. Catalog discs: menstrual disc OEM range.
Related Manufacturing & OEM Resources
Ready to Start Your OEM Project?
Contact us to discuss your custom menstrual cup production and get a quote within 24 hours.